Access
Access management and sign-in methods
Makalu provides a protected environment that requires users to log in first.
For managing user identities and controlling access to resources, Makalu supports Identity and Access Management (IAM). It also features Single Sign-On (SSO), which simplifies user login by allowing users to access multiple services with a single set of credentials.
Makalu provides the following sign-in methods:
- signing in via a Makalu user account, by entering a username and password, created specifically for a particular Makalu user
- signing in via Microsoft Entra ID (formerly Azure Active Directory/Azure AD), by using a corresponding account
- signing in via SAML (Security Assertion Markup Language) SSO login
Accessing Makalu applications
To control its functional areas, Makalu provides several applications (apps) with web-based user interfaces (UIs). Depending on the preferred workflow, there are multiple ways to access and use the available apps. The common approach is to use the Makalu Hub as the central UI and entry point for accessing and opening all available Makalu apps. It consists of one or more customizable dashboards and provides access to all available apps. The Makalu Hub is part of the Makalu UI, which combines multiple Makalu apps into a single UI.
Makalu Hub
Accessing the Makalu Hub
To access the Makalu Hub, proceed as follows:
-
Open the following URL in your browser:
https://hub.<customer-identifier>.makalu.live/dashboardNotice
Replace
customer-identifierwith your actual customer identifier, for example,exampletv.The Makalu sign-in screen is displayed.
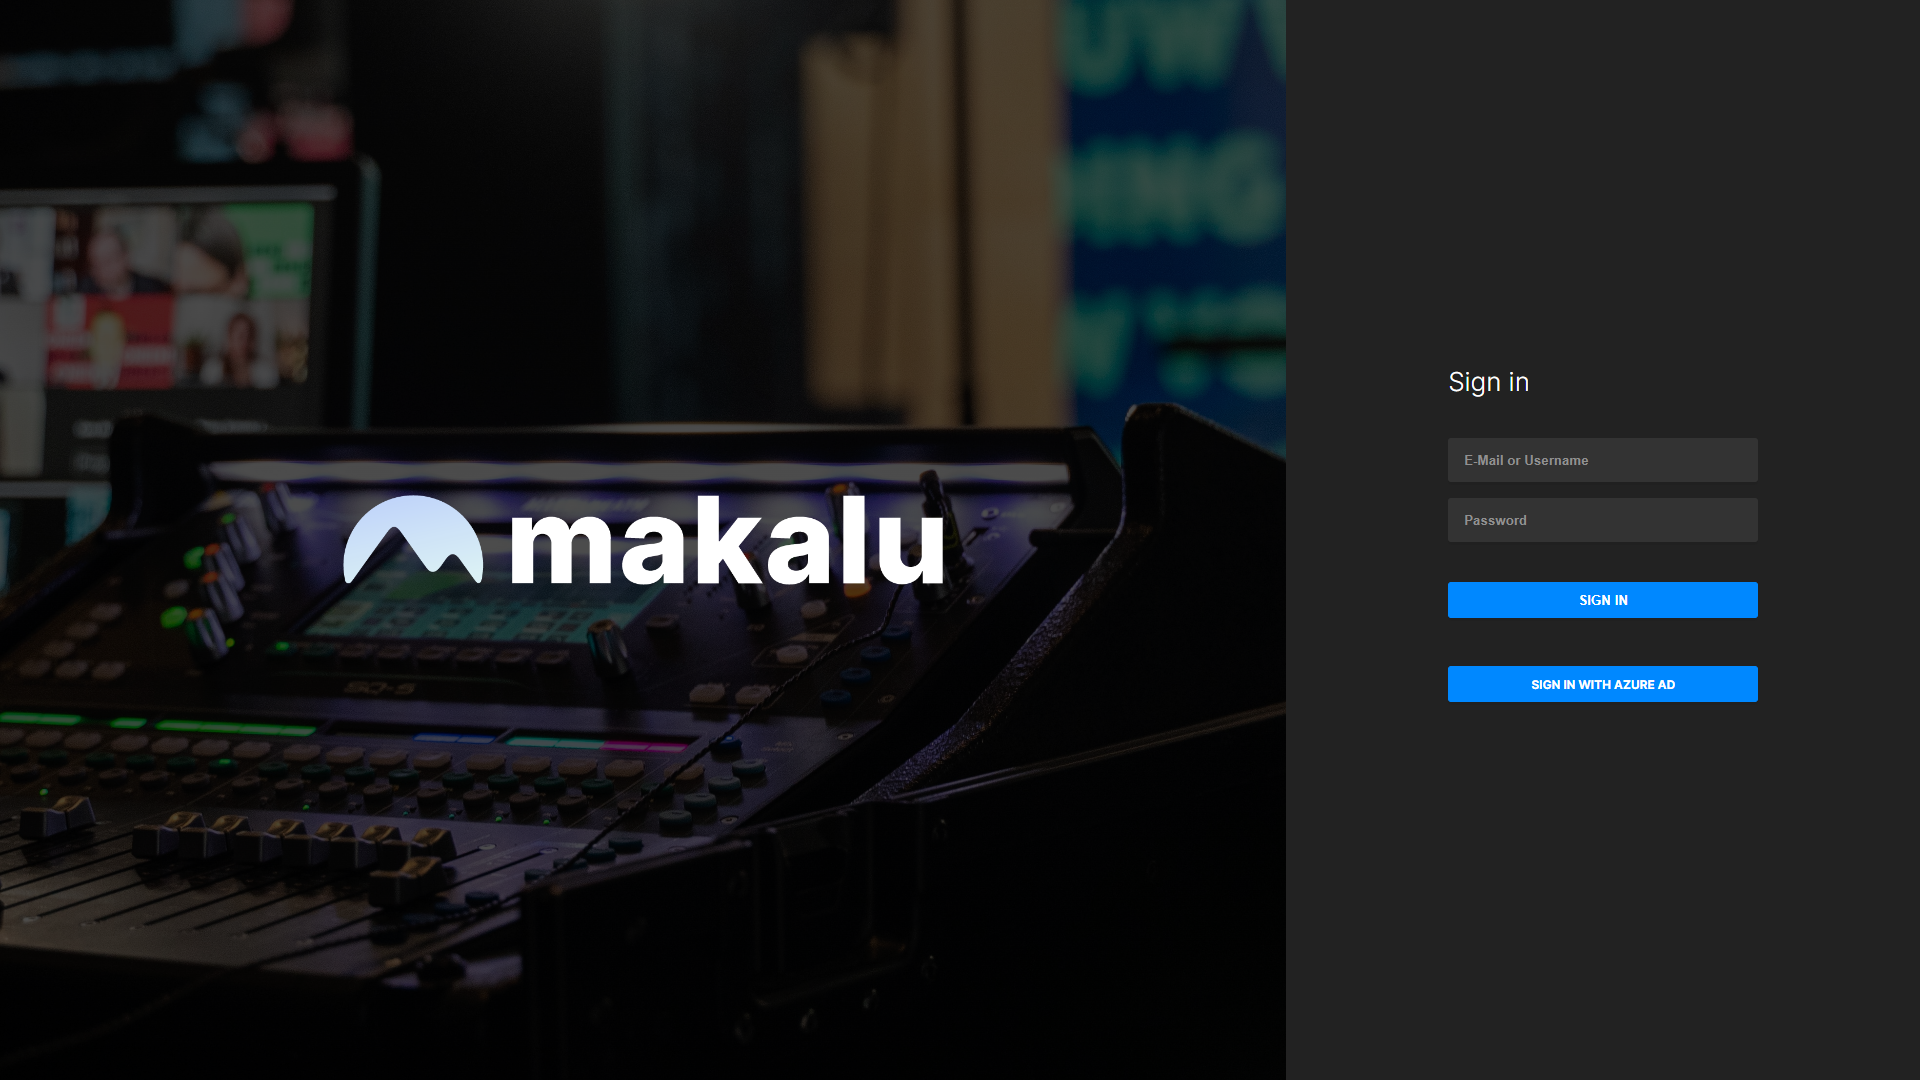
Makalu sign-in screen -
Sign in by using one of the available sign-in methods.
The Makalu Hub dashboard is displayed. If you have already created a dashboard, your default dashboard is displayed. Otherwise, the Create dashboard menu is displayed, which allows you to create your first custom dashboard. For more information, see the section Creating and configuring a custom dashboard.

Notice
The screenshot above only shows an example dashboard. The actual dashboard presentation may vary depending on the layout and the widgets you use.
Tip
To log out, open the user menu by clicking the circle with your initials at the top right, and select Logout.
Makalu Hub UI overview
Notice
All Makalu UIs are optimized for use in current versions of Google Chrome and a display resolution of 1920 x 1080 px. Higher resolutions (for example, as used by ultrawide monitors) are also supported.
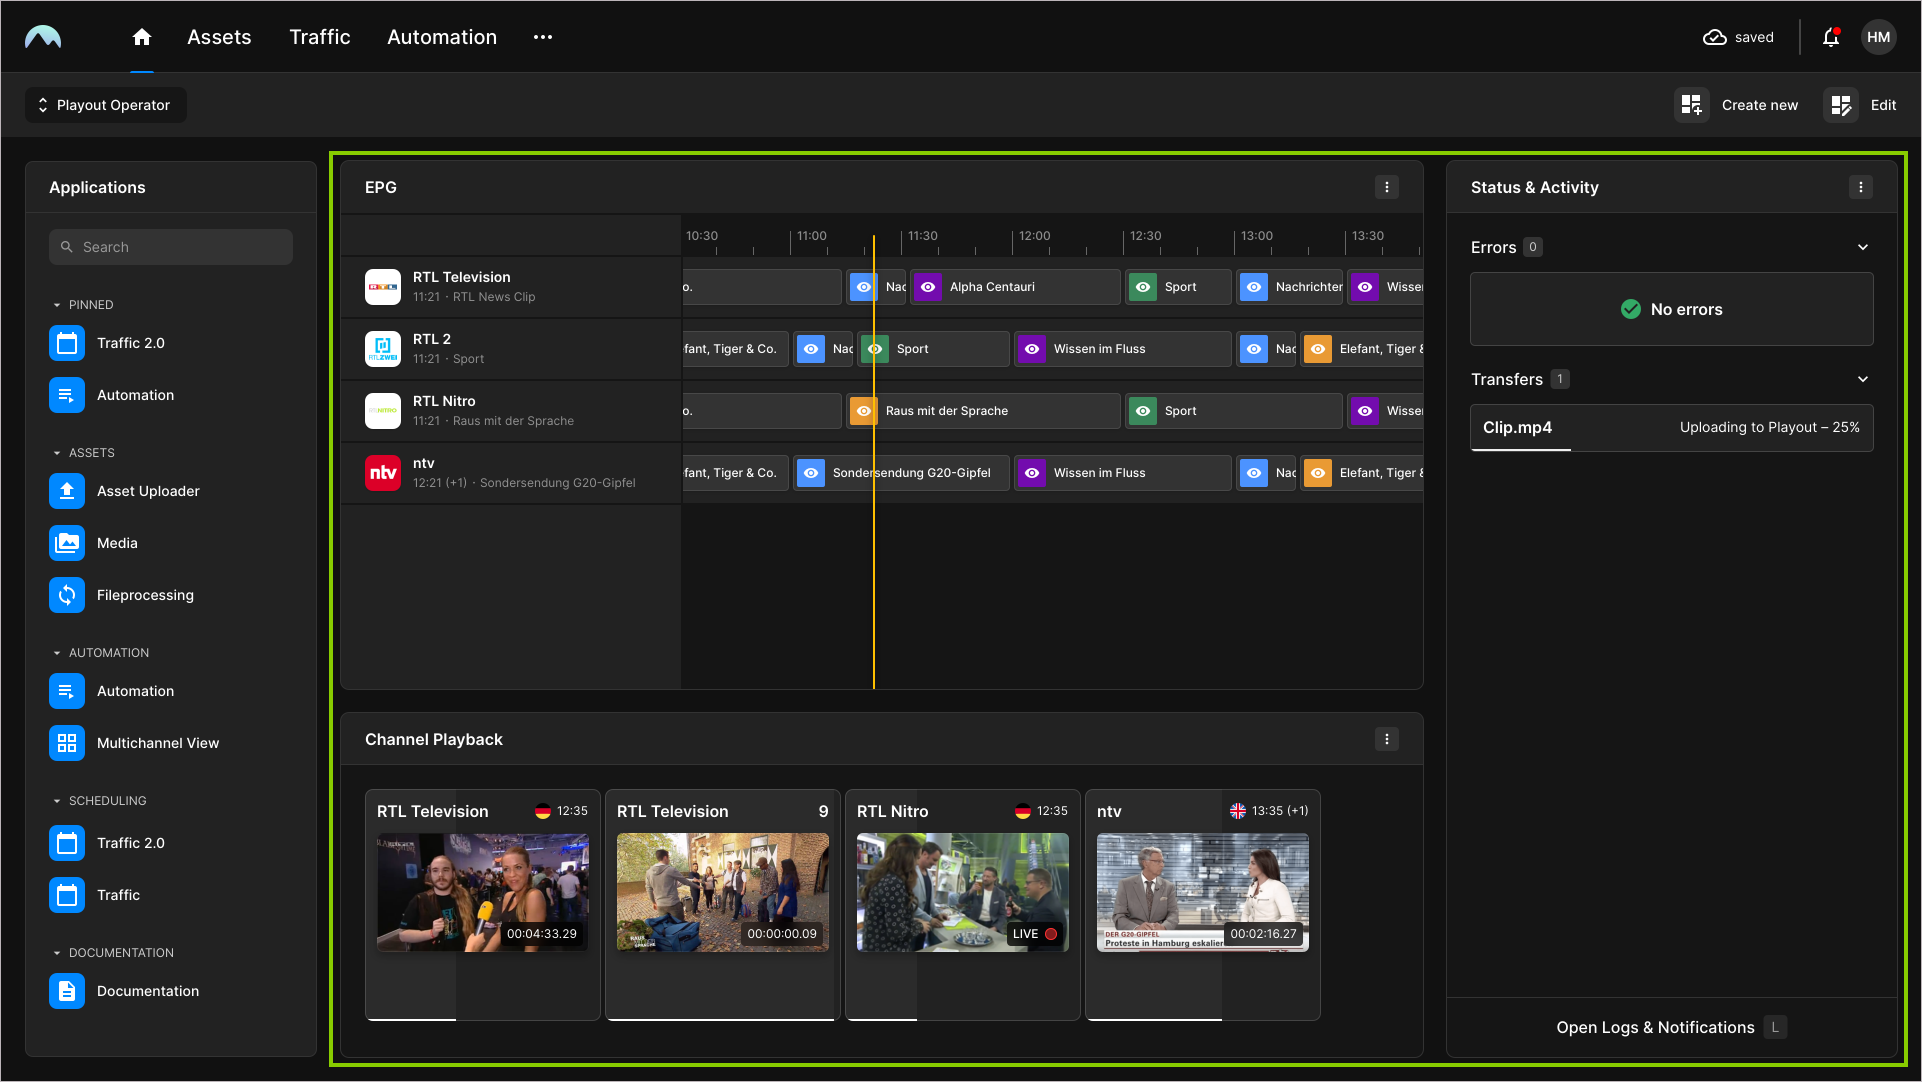
The Makalu Hub is divided into the Applications area on the left side and the Dashboard area on the right side.
The Applications area is always visible, regardless of the content of the currently selected dashboard. It consists of a list of all available apps, categorized by functional areas. You can search for available apps via the search field at the top. You can also create custom app links (for more information, see the section Creating a custom app link) and pin apps to the top of the list.
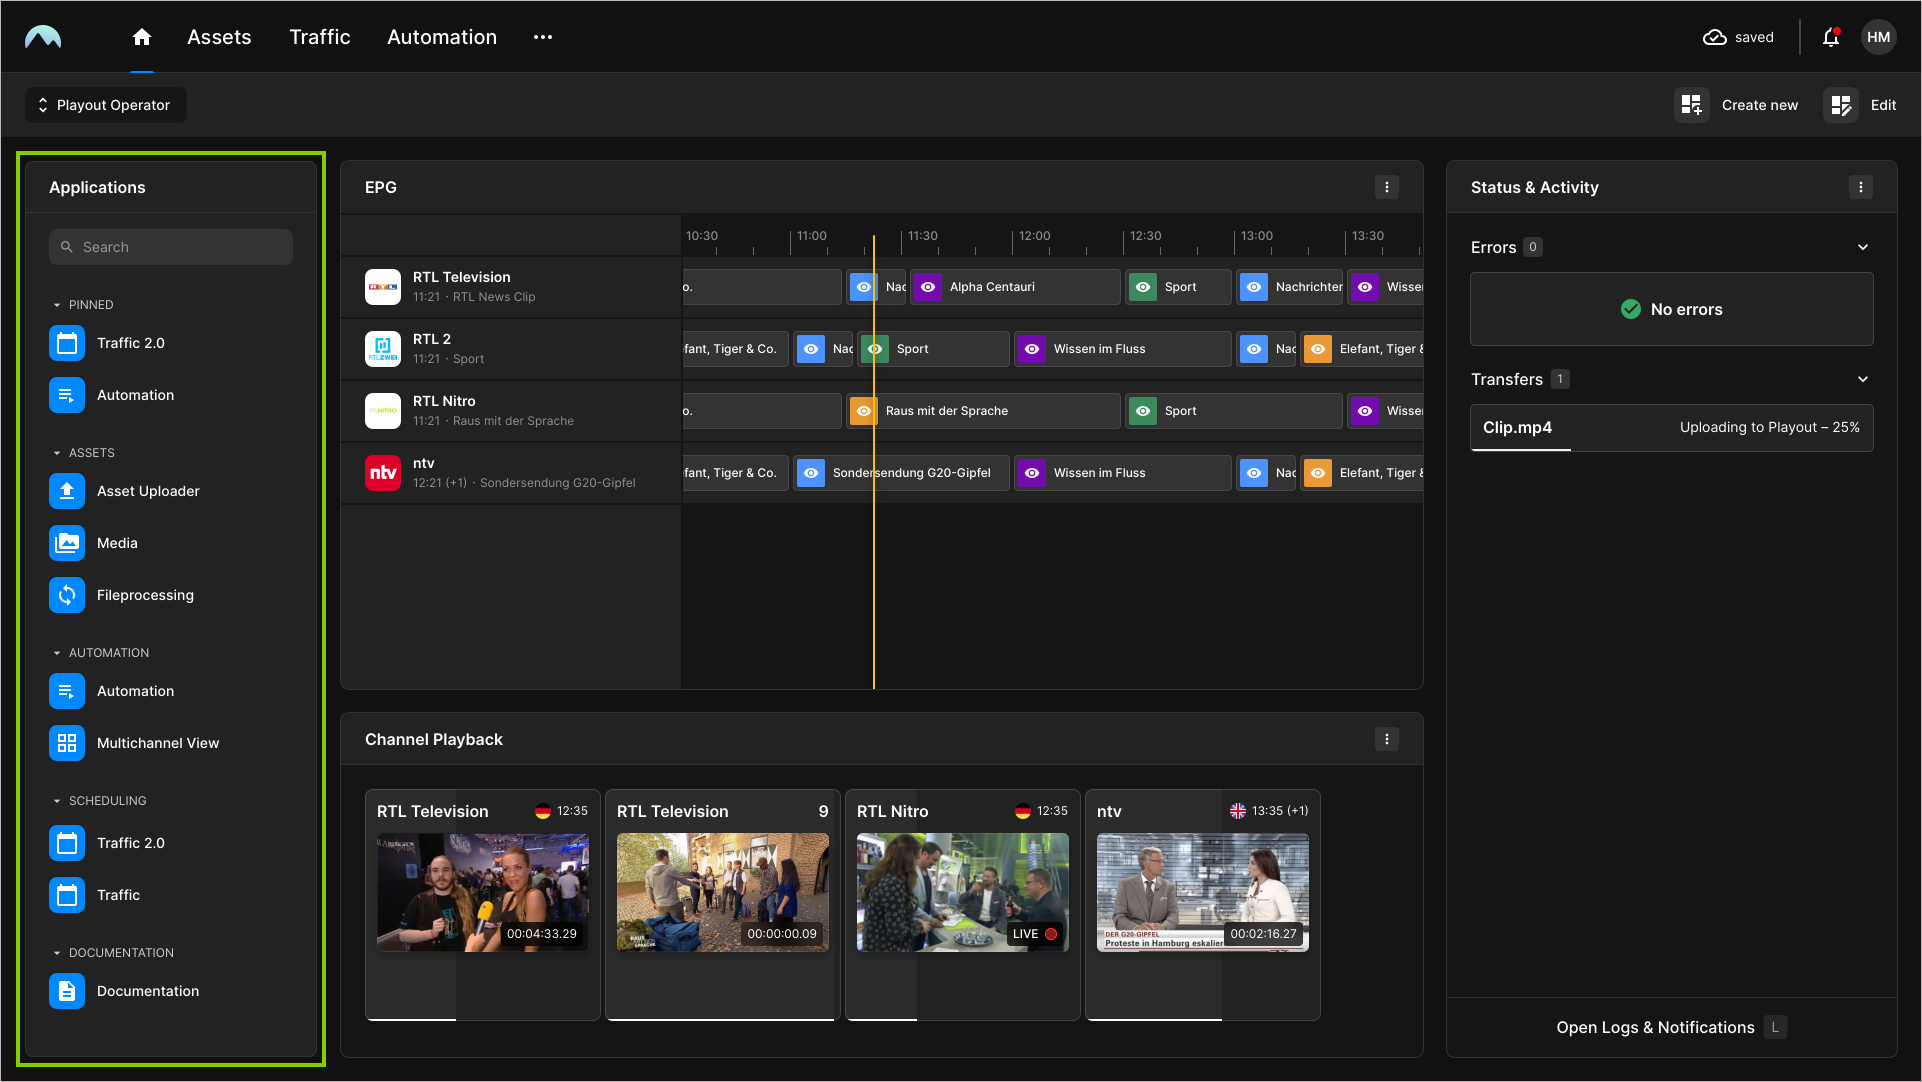
The Dashboard area can be used to display various elements, depending on which information and data you need as a user or which role you have (for example, playout operator, traffic operator, etc.). The focus of this area is to quickly identify if a Makalu component is not working as expected or if an error has occurred, in order to take prompt countermeasures.
Dashboards are customizable. How a dashboard is displayed and what information it shows depends on the selected dashboard layout and the widgets added to the corresponding layout areas. A widget is a reusable UI component that performs a specific function, such as displaying information or controlling UI elements, and can be placed within a dashboard.
Tip
To switch between available dashboards, use the dropdown menu at the top left above the Applications area.
The default dashboard uses the Preview widget to display a preview of each available channel output. Which channels are available depends on your access permissions.
Notice
The preview initially displays a thumbnail image of the current output for each channel, which is automatically updated after a configurable interval. This keeps the network load on the client side as low as possible, especially if a large number of channels are displayed simultaneously. If required, the actual preview playback can be started, paused, and resumed manually per channel by clicking the Play or Pause icon in the preview player area.
Tip
You can use the Preview widget to quickly access the Detailed channel view by clicking the name of the corresponding channel at the top of the widget.
The default dashboard also contains the Status & Activity widget, which provides an overview of the current system status.
Creating a custom app link
To create a custom app link in the Applications area, proceed as follows:
-
Open the Makalu Hub as described in section Accessing the Makalu Hub.
-
In the upper right corner, click Create App Link.
A dialog window opens.
-
Set the app link properties by entering Name, URL, Category, and selecting a Group.
-
Click Create Link.
The app link is created and added to the list of available apps in the Applications area on the left side.
Creating and configuring a custom dashboard
To create a custom dashboard, proceed as follows:
-
Open the Makalu Hub as described in section Accessing the Makalu Hub.
-
Depending on whether you have already created a dashboard, proceed as follows:
-
If you have already created a dashboard, your default dashboard is displayed. To create a new dashboard, click Create new at the top right.
-
If you have not yet created a dashboard, the Create dashboard menu is displayed automatically.
The Create dashboard menu opens.
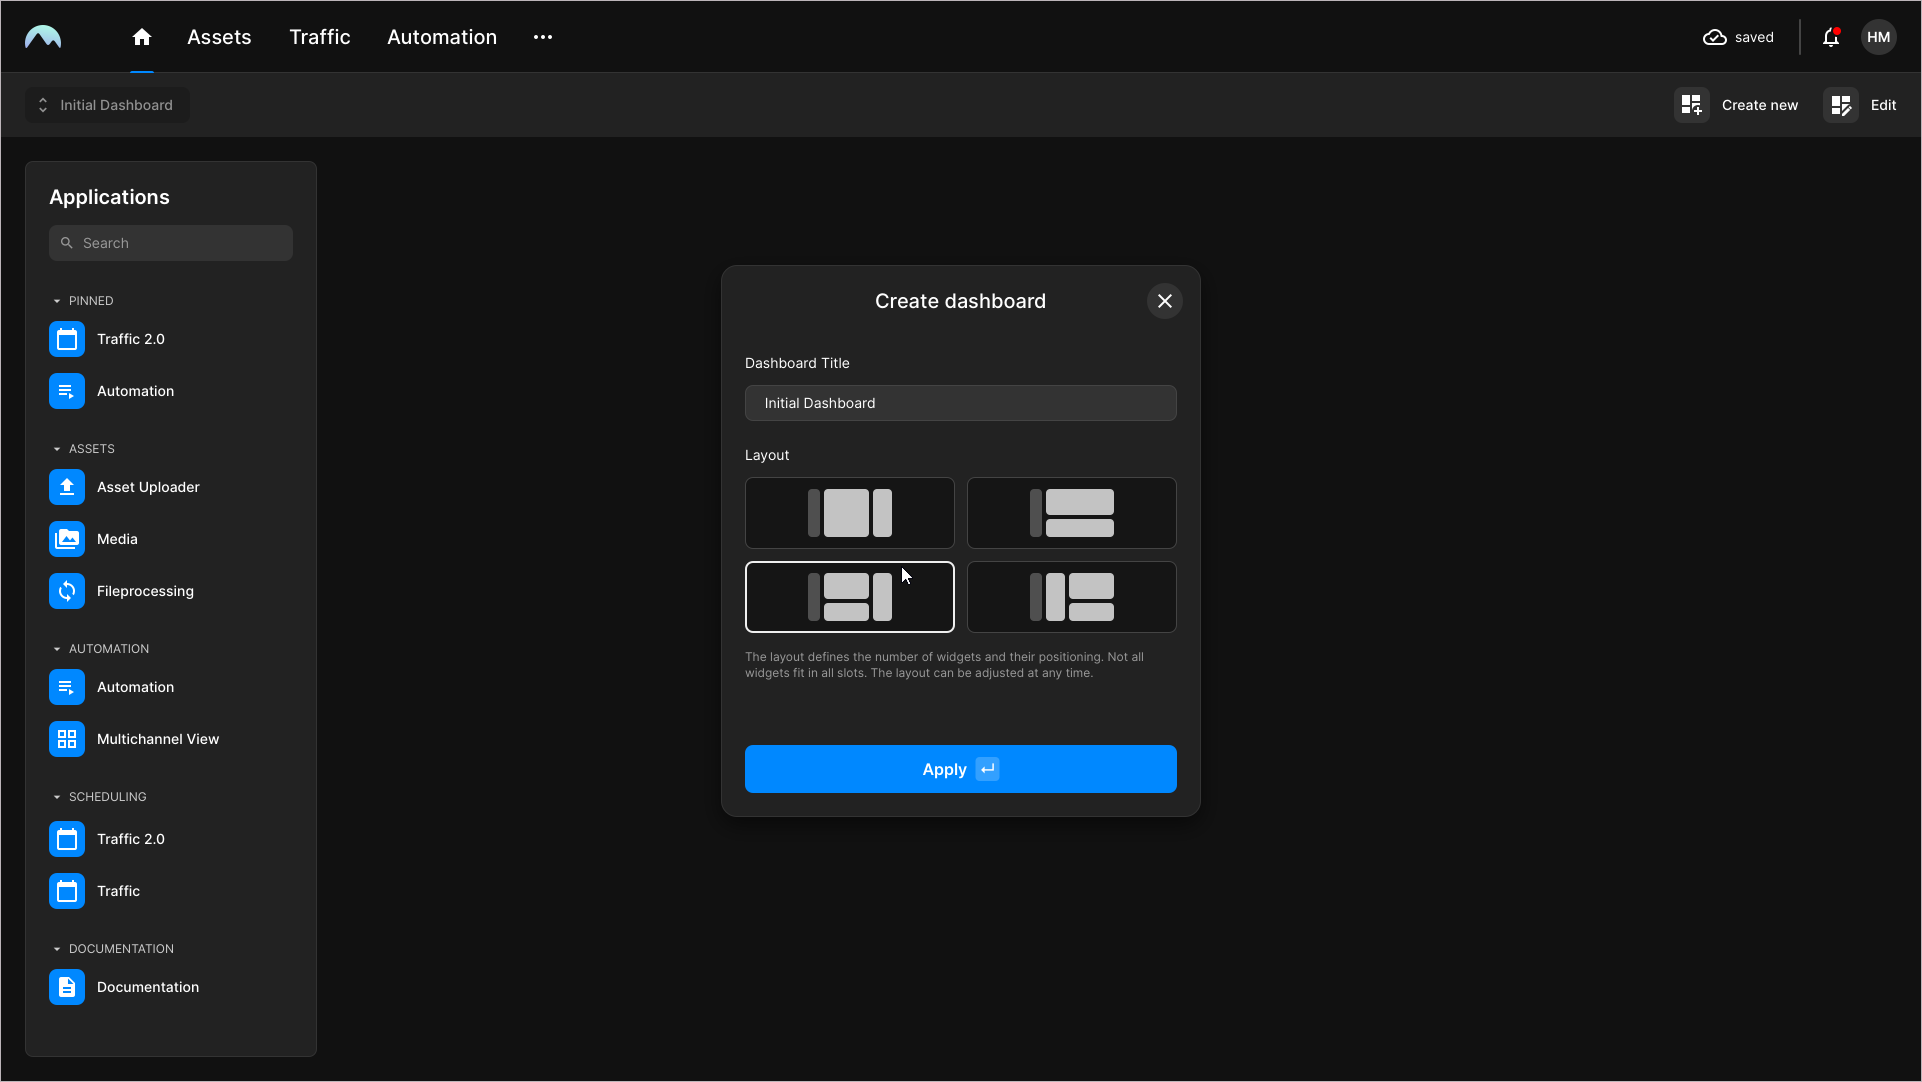
Hub - Create dashboard menu -
-
Set the basic dashboard properties by entering a Dashboard Title and selecting a Layout.
-
Click Apply.
The dashboard is created and displayed with empty widget areas based on your selected layout.
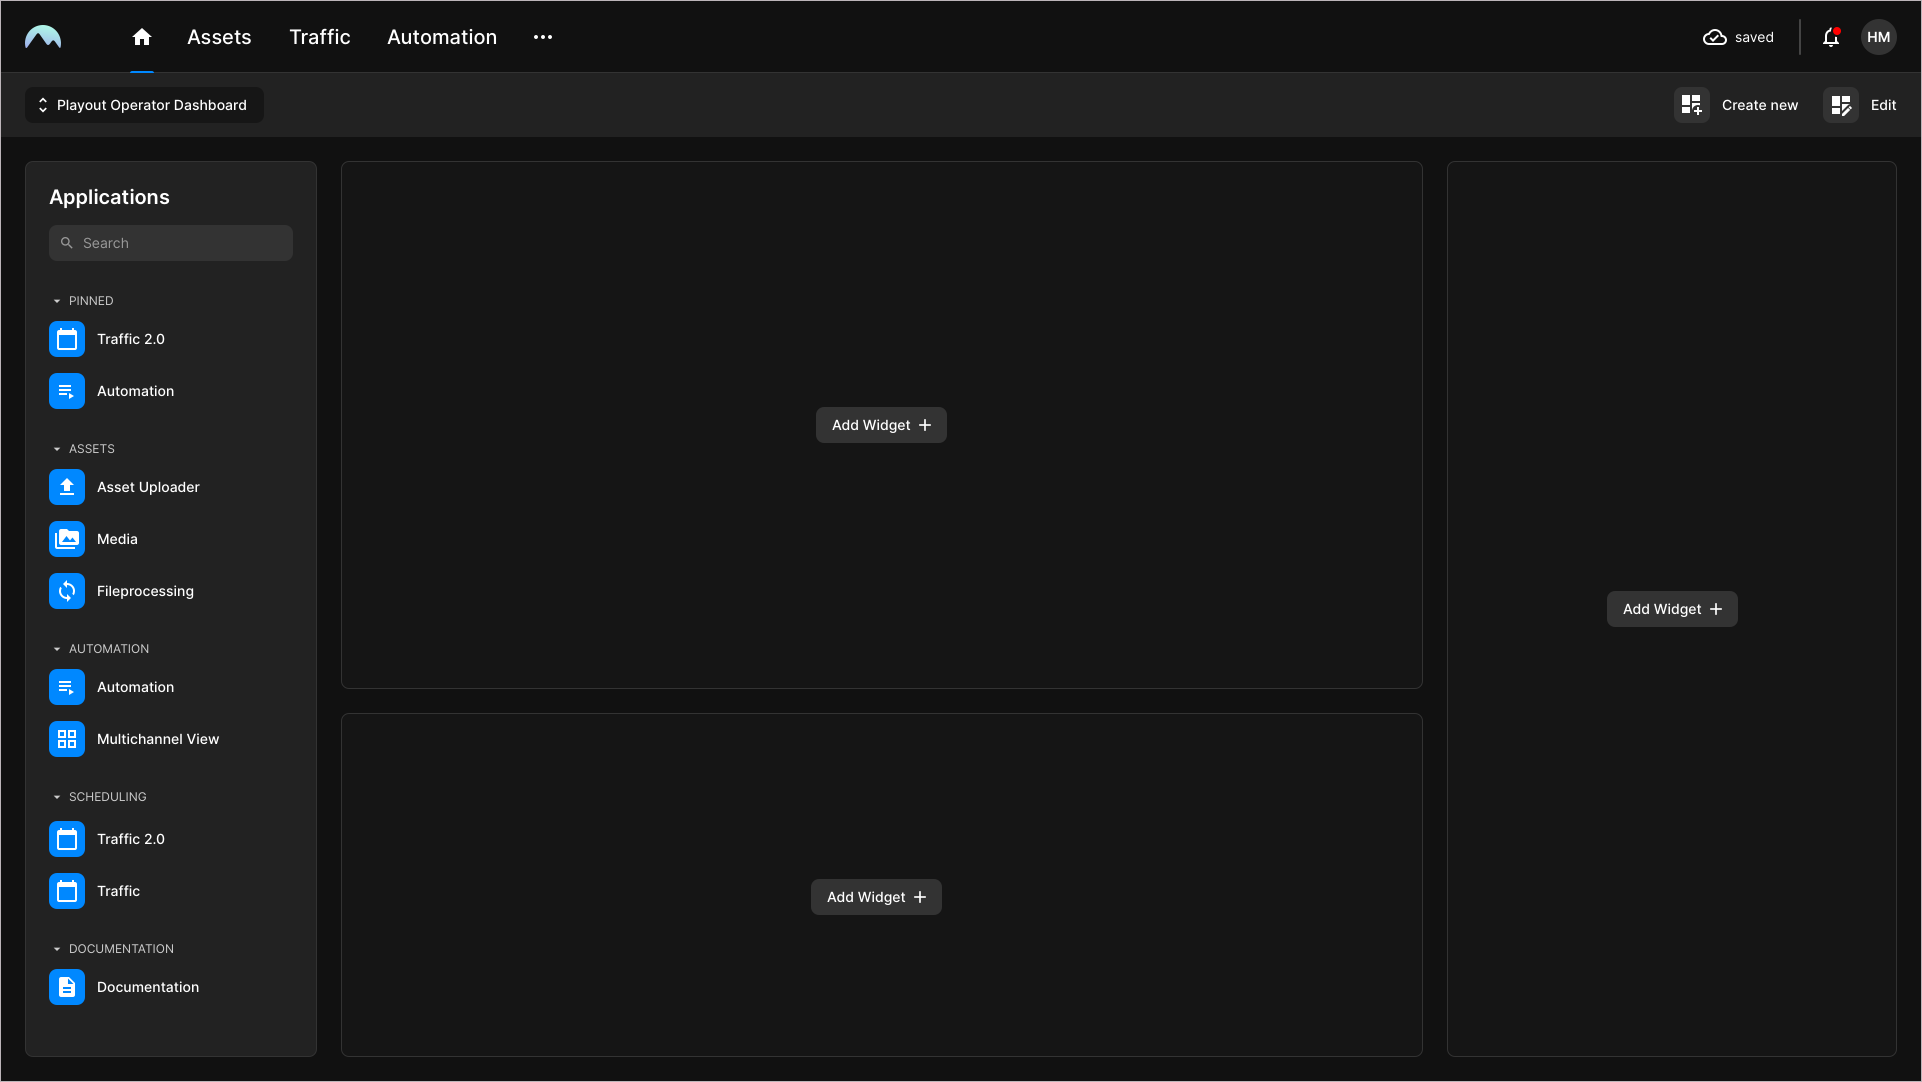
Hub - Newly created dashboard with empty widget areas -
Add a widget to one of the available empty areas by clicking Add Widget and selecting the widget to add.
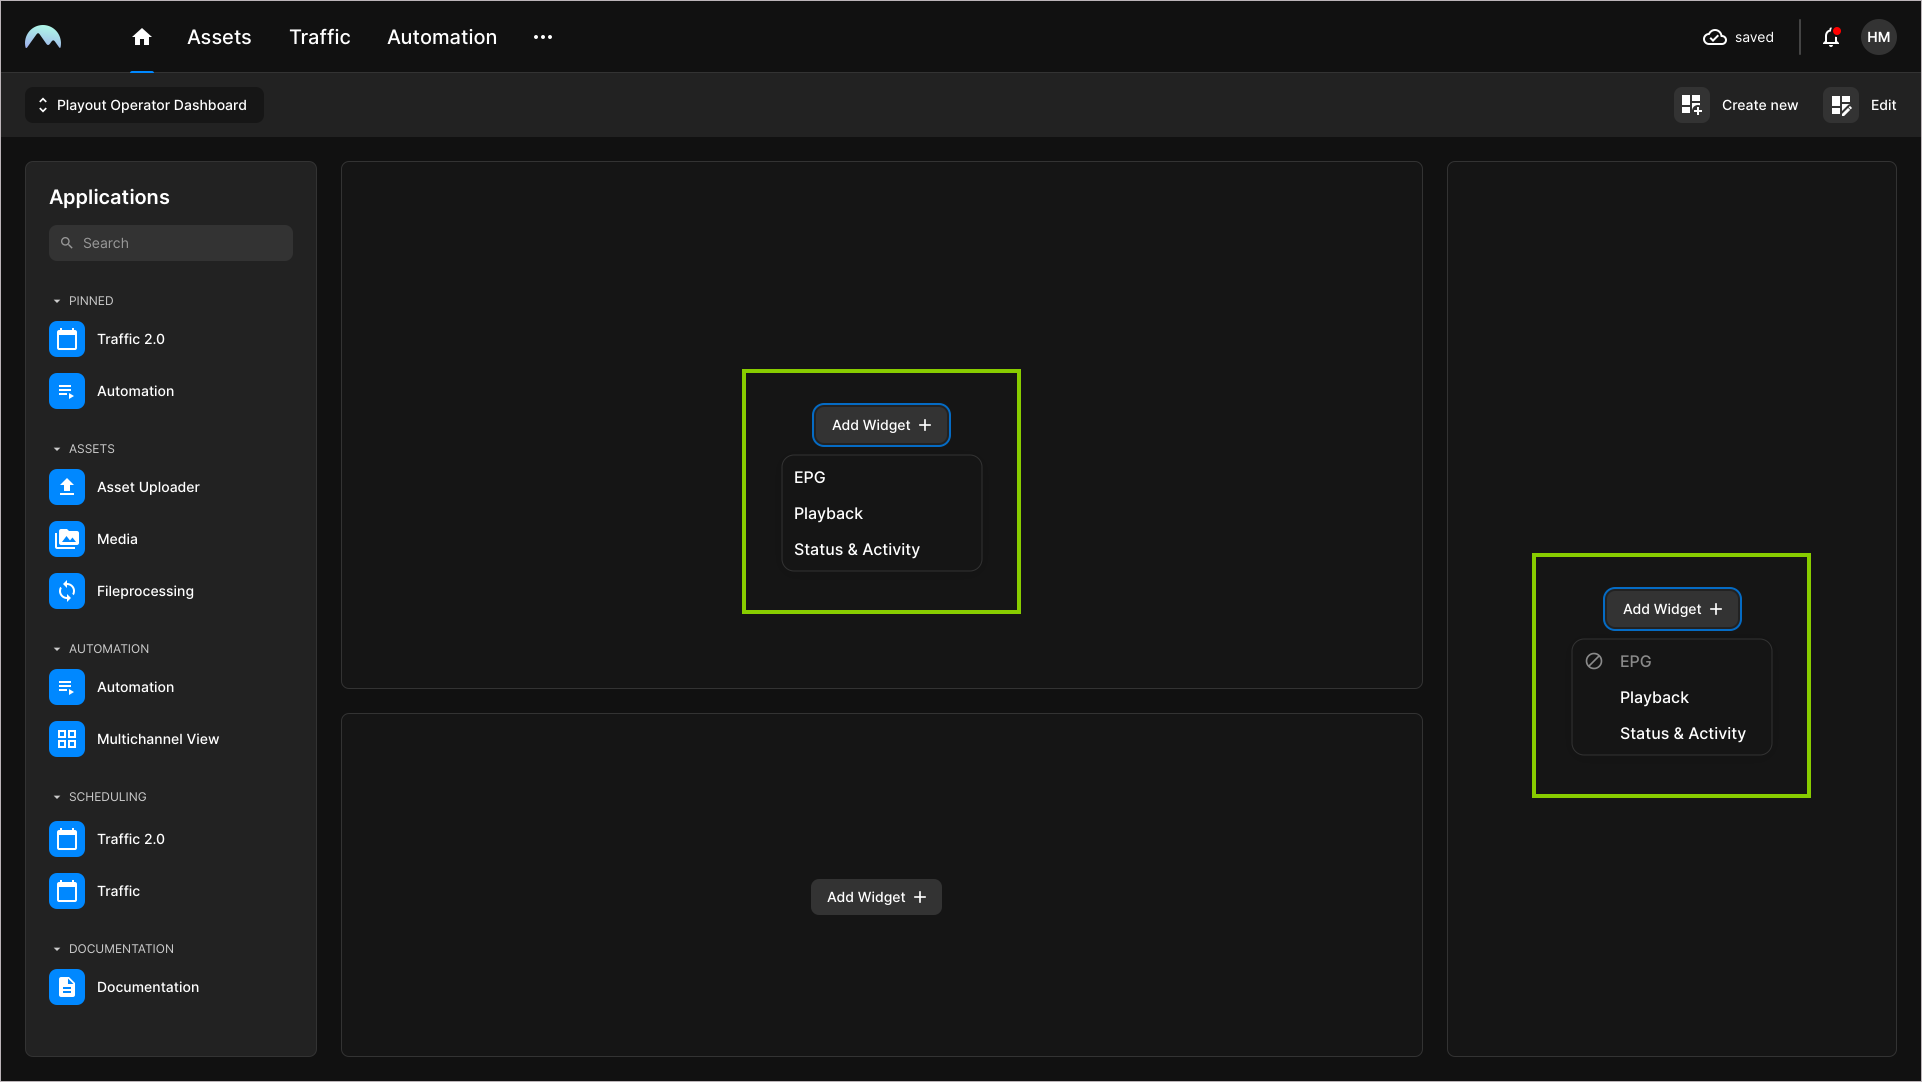
Hub - Add widget to empty area Notice
Not all widgets are available in every layout area. Only widgets that fit the corresponding area are available (for example, the EPG widget cannot be displayed in a narrow column).
The selected widget is added to the selected area.
-
Edit the widget settings as follows:
-
Click the Options icon
 at the top right of the widget and select Configure widget.
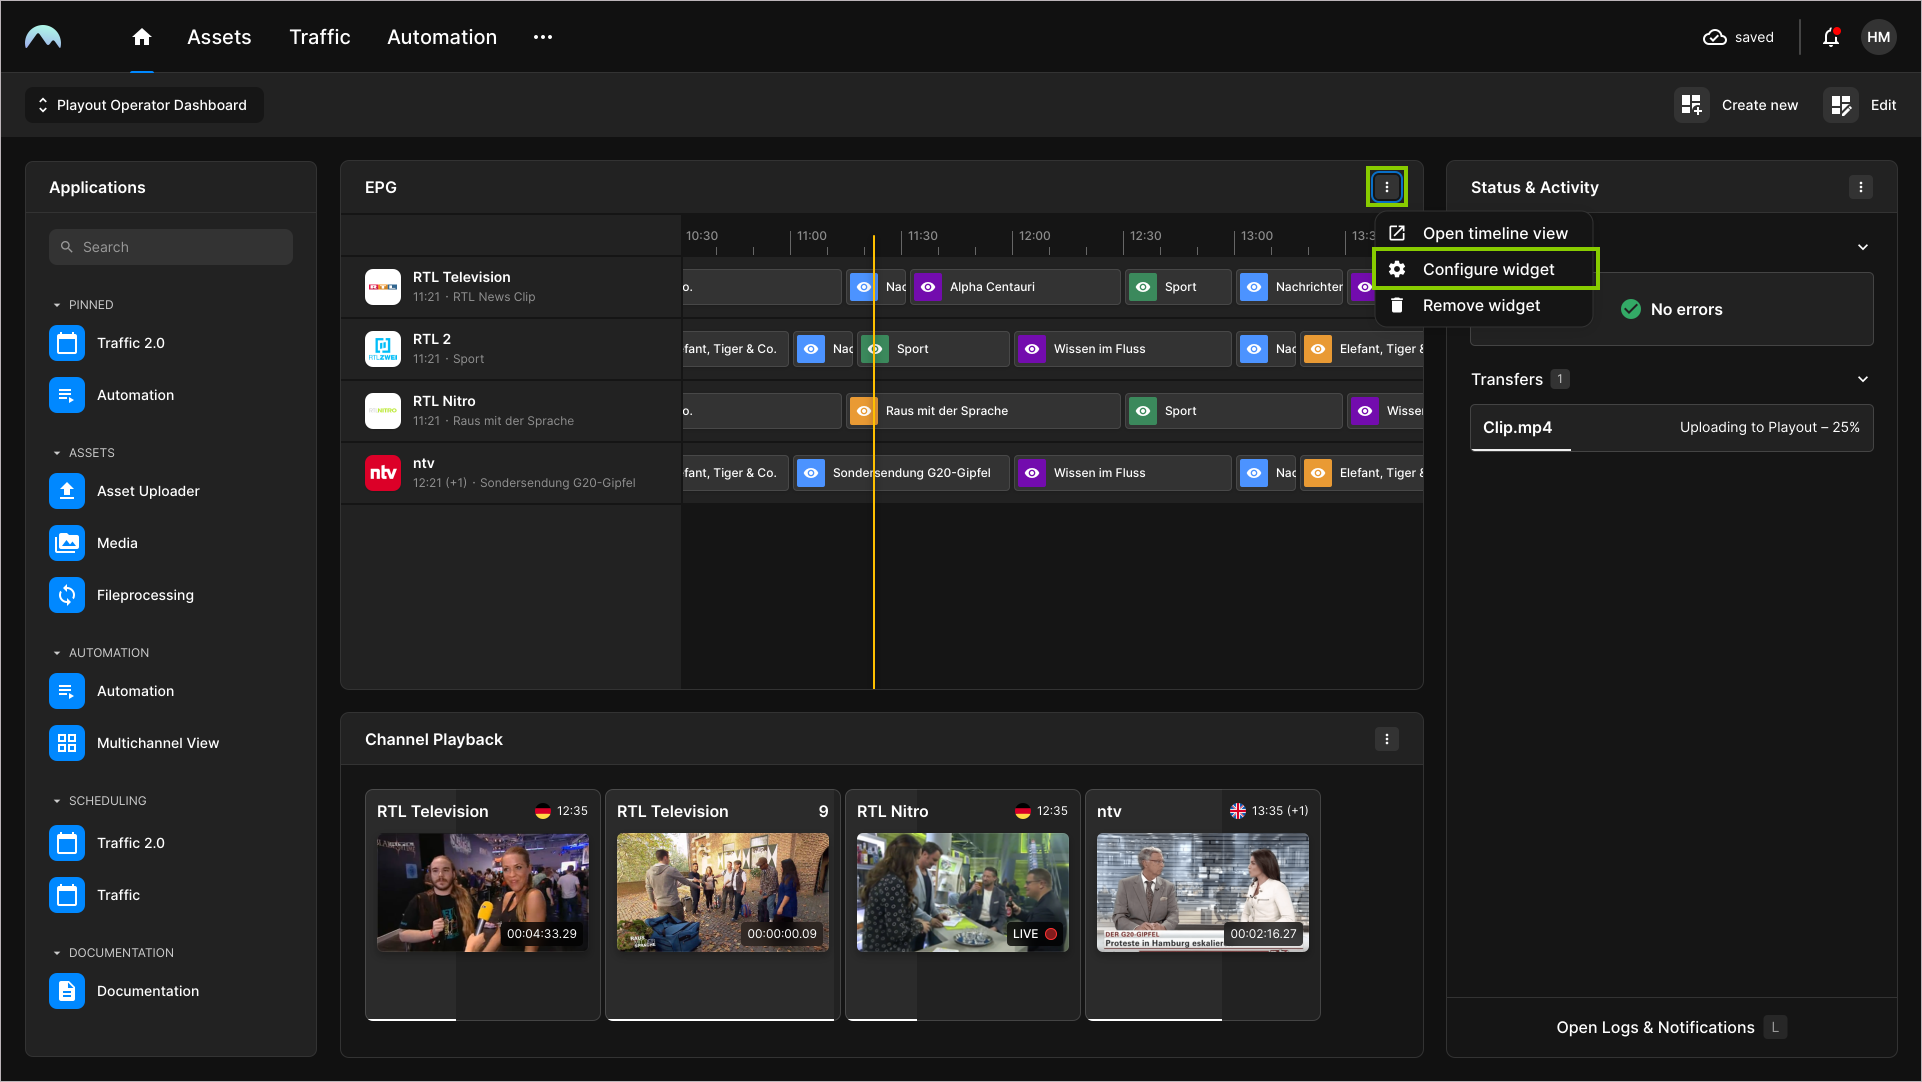
Hub - Configure widget The Configure widget menu opens.
-
Change the widget properties as required.
-
Click Apply.
The widget is configured.
-
-
To add widgets to the other available empty areas, repeat steps five and six.
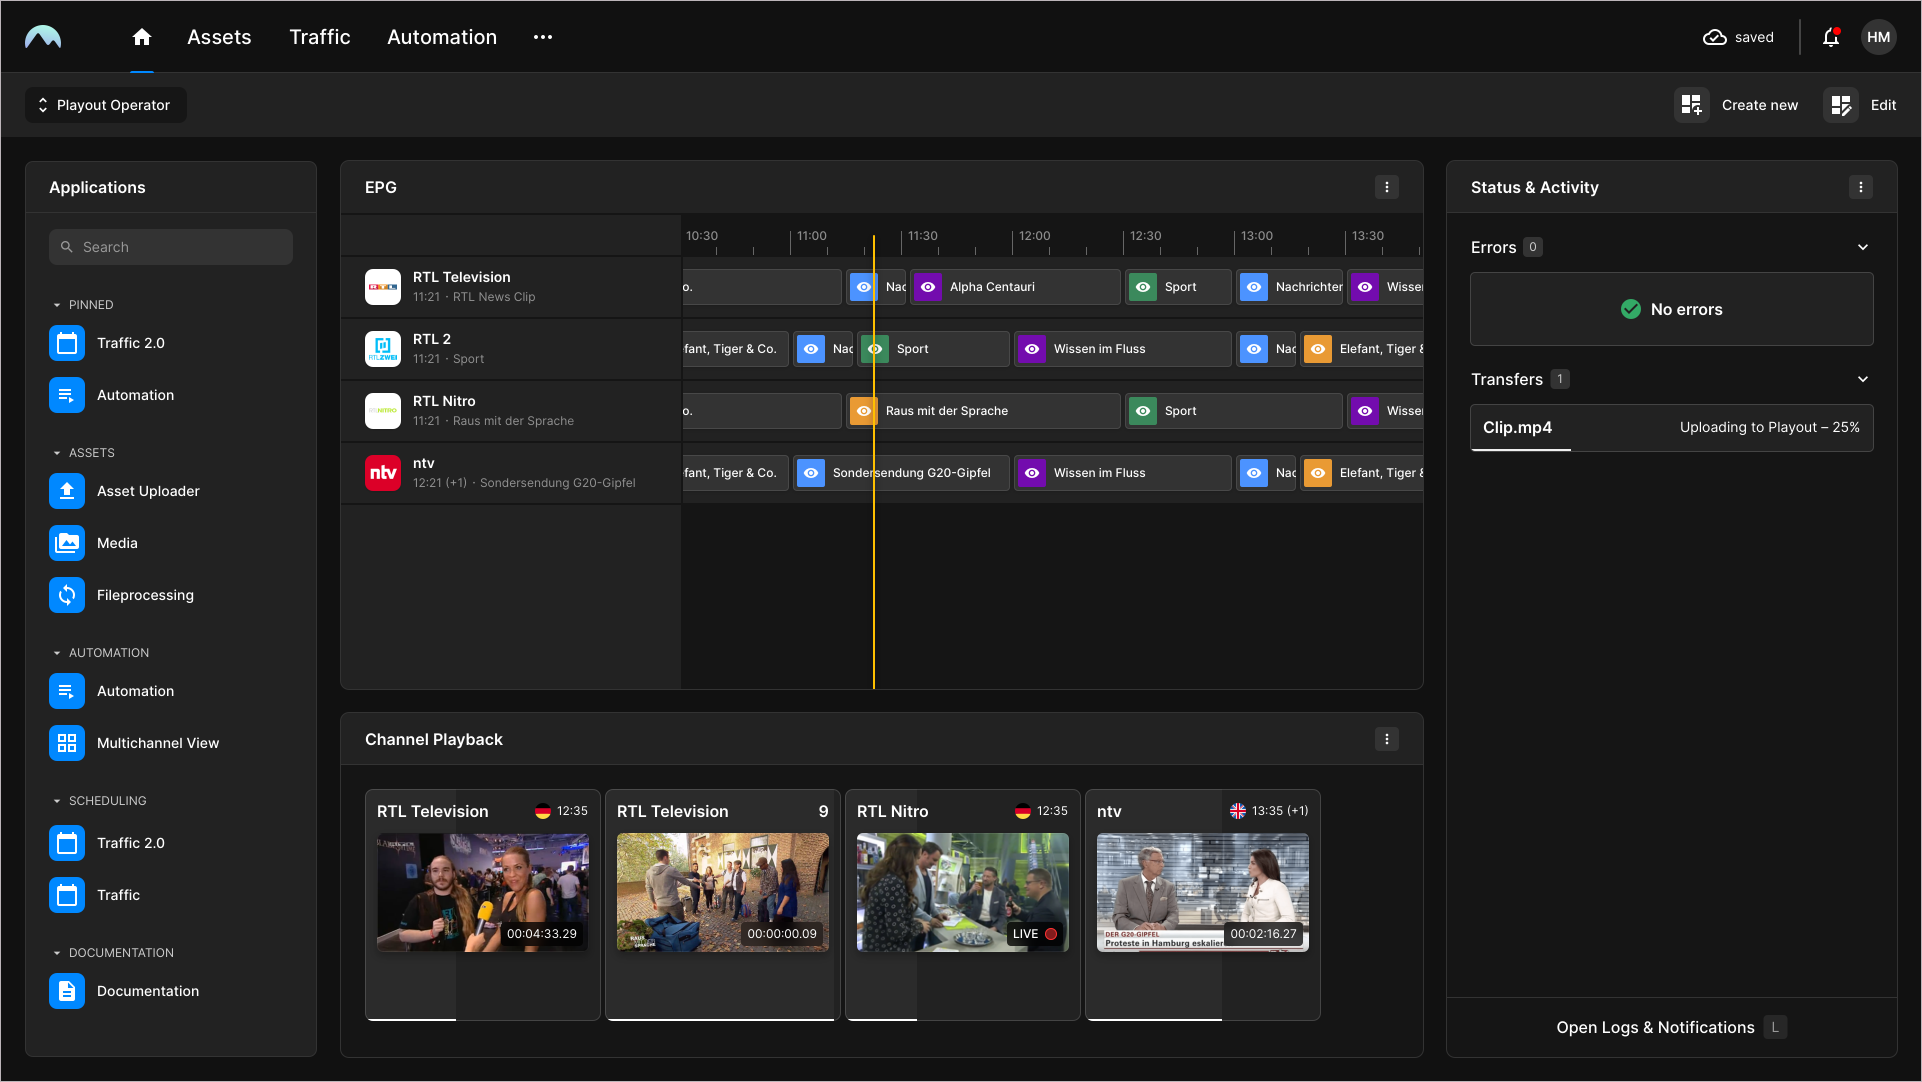
Hub - Dashboard with added and configured widgets
The newly created dashboard is now configured and ready for use.
Makalu UI
When you open a Makalu system app via the Makalu Hub, it is usually opened in the corresponding tab of the Makalu UI, which combines multiple Makalu apps into a single UI.
It consists of multiple tabs that provide access to the functional areas of Makalu.
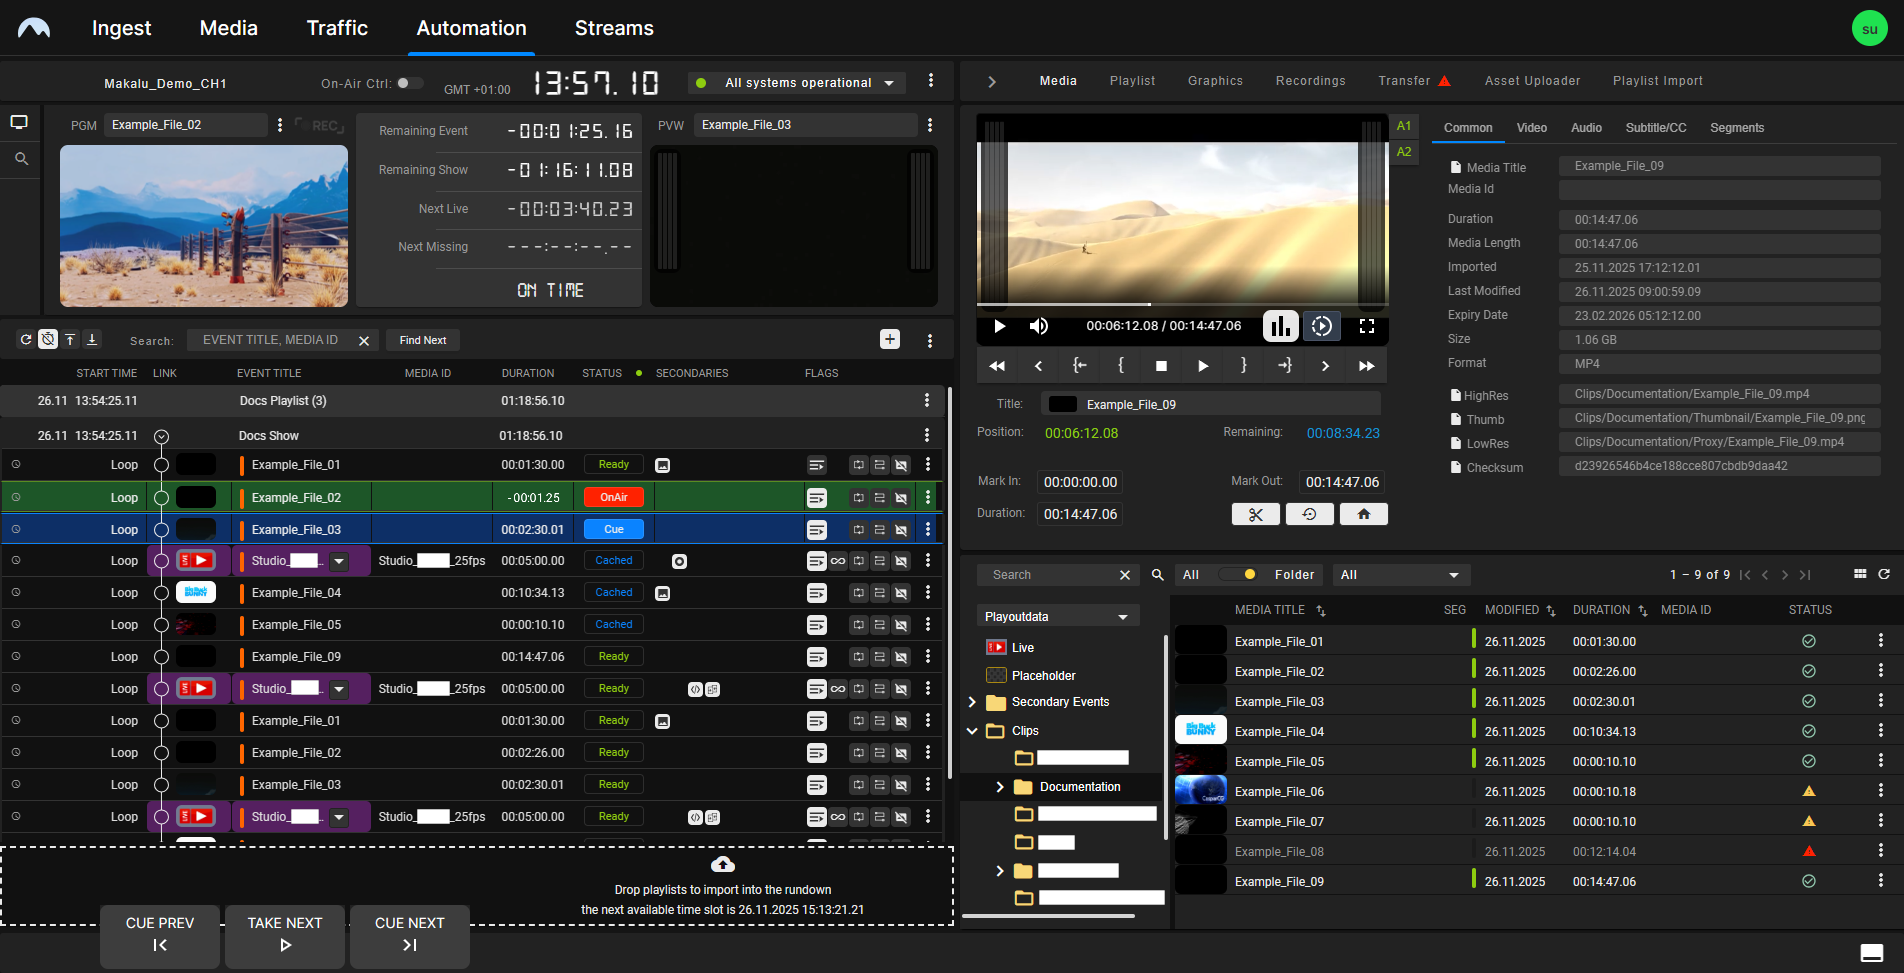
The main navigation consists of the following tabs:
| Element/tab | Functional area | Linked app | Described in section |
|---|---|---|---|
| Ingest | Ingest | Asset Uploader | Ingest |
| Media | Ingest/Asset management | Asset Viewer | Ingest |
| Traffic | Schedule | Traffic | Traffic |
| Automation | Playout | Multichannel View/Detailed Channel View | Automation: |
| Streams | Ingest/Distribution | Stream Control | Live sources and stream targets |
Tip
To return to the Makalu Hub dashboard, regardless of which Makalu app is currently opened, click the Home icon ![]() at the top left.
at the top left.